How to hang your frame at home
Work by Tal R in the home of a private client

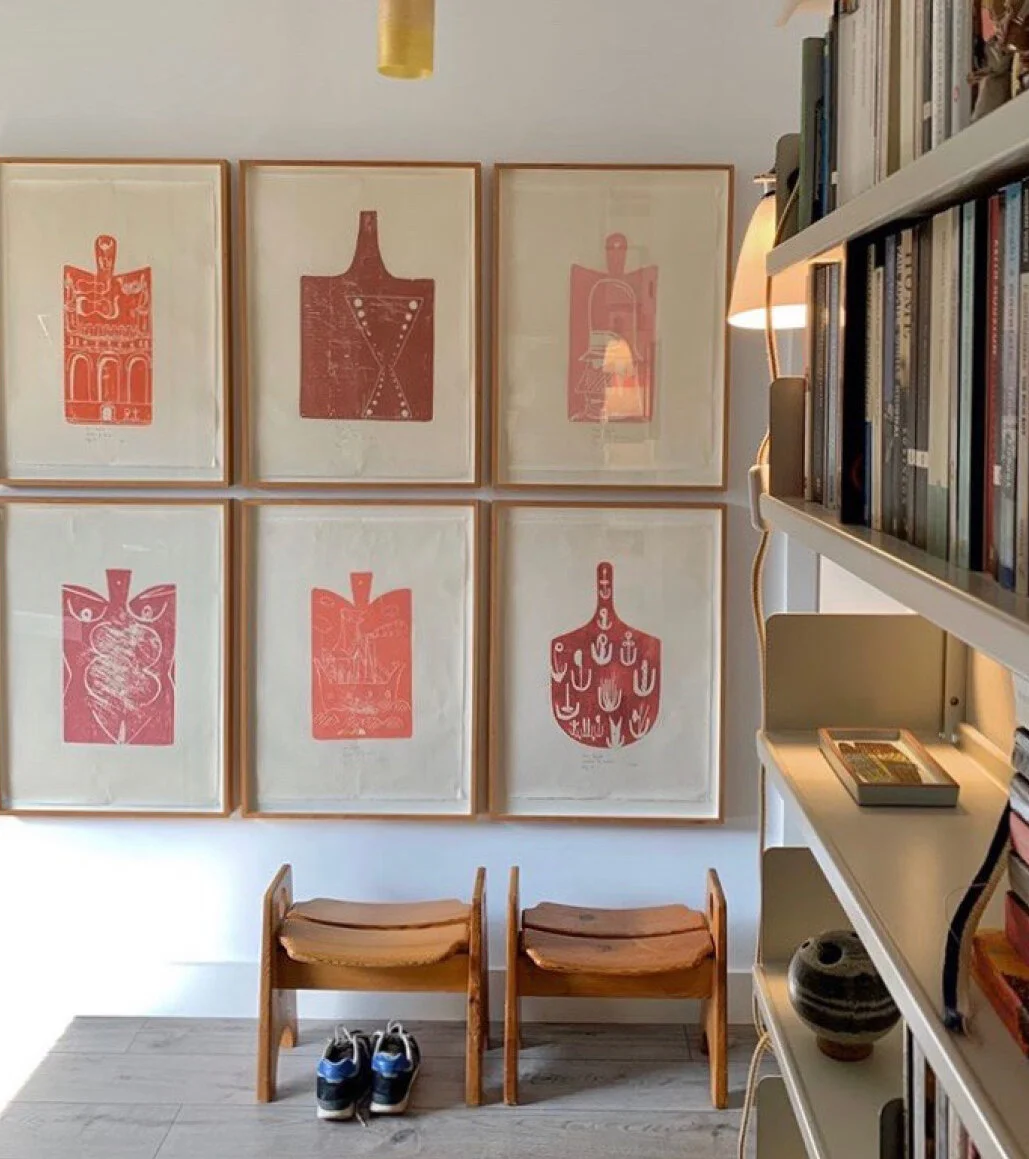
Work by Kai Althoff in the home of a private client
Whether you have one large (and heavy) statement artwork, or you’re hanging a selection of smaller pieces gallery style, we’re often asked the best way to hang a framed artwork securely to your walls at home. Here’s our step-by-step guide on our preferred method of hanging large frames - split batten hanging.
Please note! These instructions are to offer guidance only, and you should always consider the weight of your artwork, along with the type of wall you are hanging from to avoid any damages.
What is split batten hanging?
The subframe is a hanging system often found in box frames. It provides support for the frame, and has an angled edge, allowing it to slot onto another piece of wood, with the reverse angle - the split batten. The split batten is fixed to the wall and they lock perfectly together, allowing the frame to hang straight and flush to the wall. This gives a clean and simple aesthetic, and provides strength and support to the artwork.
What we provide
As part of our production process, we attach a subframe to the back of the frame, and supply you with the separate split batten that needs to be fixed to your wall.
What you’ll need
Spirit level
Screws
Drill and rawl plugs
Step-by-step guide to split batten hanging (with photographs below)
Determine the height you wish your work to be hung. For a stand-alone frame, we recommend the gallery-standard height of 156cm to the centre of the image.
Remove the split batten from the back of the frame.
Place the batten at the height you wish to hang your work, and check the batten is straight using a spirit-level.
Use a pencil to mark the holes you want to make on the wall.
Drill holes into the wall. Depending on the weight of your work and the structure of your walls, you may need to use rawl plugs.
Attach the split-batten using the appropriate screws.
Once both screws are tightened, check that the batten is firmly attached to the wall and does not move.
The sub-frame at the back of your frame has a bevelled-edge at the top. The subframe can now be hung over the split-batten securely.

